


Roof Vent Installation: How To Install A Roof Vent (2024)
 Written by : Secured Roofing & Solar
 5 minutes read

Wondering how to install a roof vent and why it matters for your home? Roof vent installation improves air flow, controls attic temperature, and protects against moisture damage. This guide breaks down the installation process step by step, providing the know-how you need to get the job done right, with practical tips and safety advice.
Inside this blog:
- Understanding roof ventilation
- Selecting the right vent for your roof
- Preparing for a successful installation
- Step-by-step roof vent installation
Understanding Roof Ventilation and Its Importance
When you think of a well-functioning home, ventilation might not be the first thing that comes to mind. Yet, it’s the silent hero working round the clock to ensure your home’s health. A roof vent serves as a critical component in this process, facilitating air circulation, regulating attic temperature, and thwarting moisture accumulation. The symphony of a well-ventilated roof can prevent a cacophony of damage, from rot to structural maladies, ensuring your abode remains in tip-top shape through scorching summers.
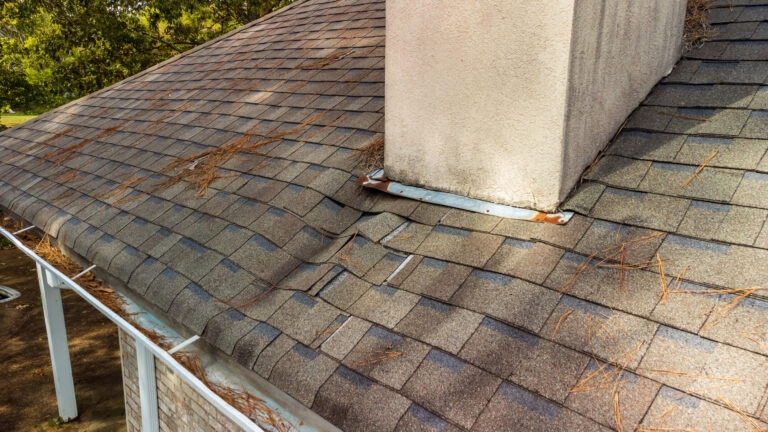
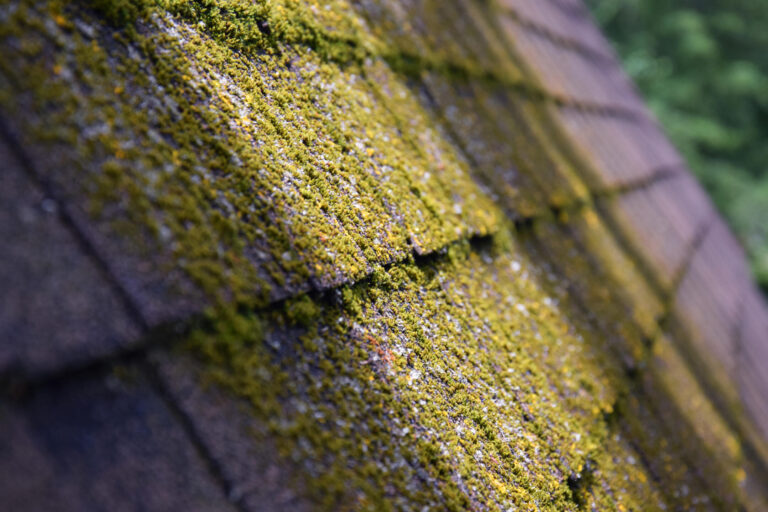
Overlooking the need for a roof vent is like setting a welcome mat for trouble at your doorstep. Poor ventilation is the unseen culprit behind mold, wood rot, and an array of structural damages due to unmanaged heat and moisture. If you’re seeking to prolong the life of your roofing materials and avoid shingle damage from excessive heat, proper ventilation is non-negotiable.
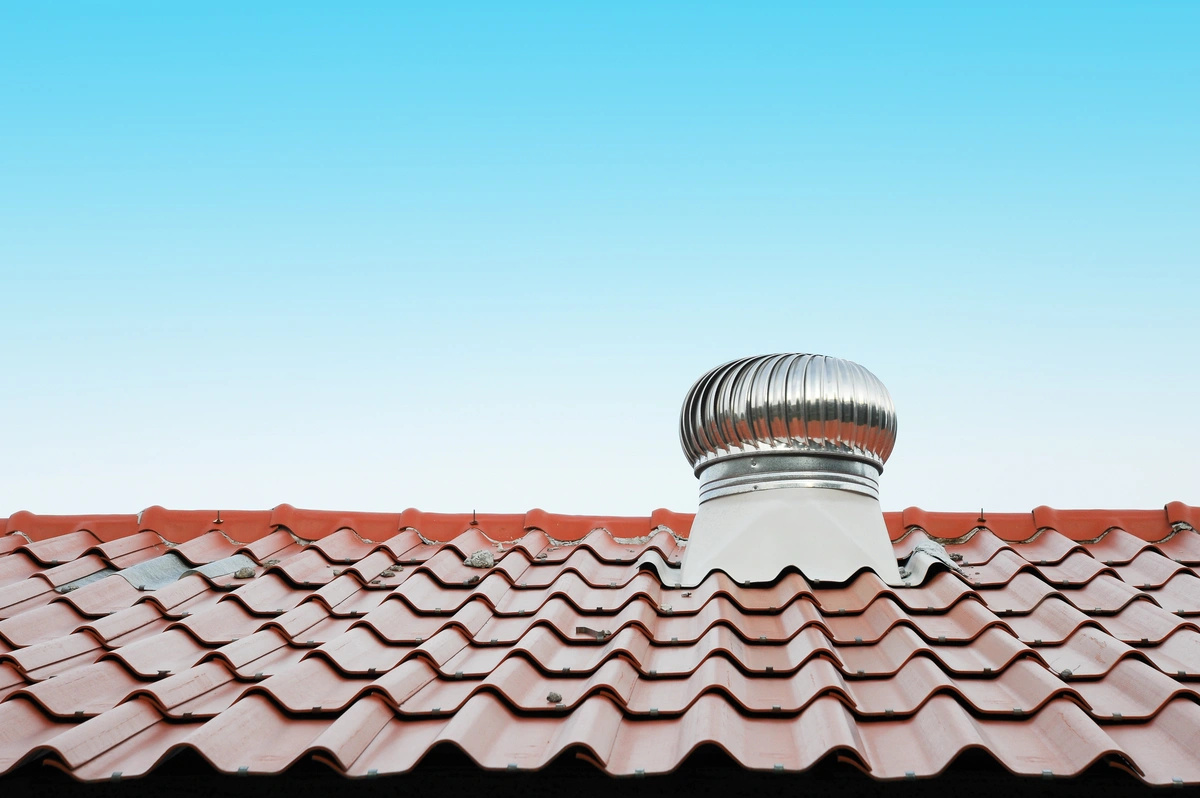
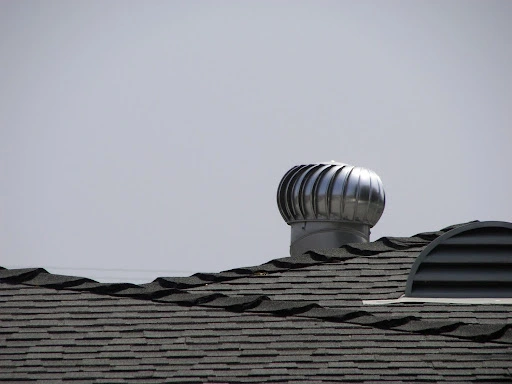
3 Types of Roof Vents Explained
Roof vents come in a variety of types, each with a distinct role in your home’s architectural framework. Here are the different types of roof vents:
1) Box Vents:
These are the sentinels at the peak of your roof, allowing hot air and moisture to bid farewell from the highest gathering point.
2) Soffit Vents:
These are the unsung heroes installed under the eaves, ensuring a steady influx of cool air while shielding against weather and debris.
3) Ridge Vents:
These span the roof’s apex and provide an exit route for warm air, harmoniously paired with soffit vents for optimal performance. Roof ridge vents are a popular choice for their efficiency in releasing hot air from the attic.
The Consequences of Poor Ventilation
Neglecting proper ventilation is a gamble that can cost you dearly. The absence of effective air circulation sets the stage for:
- Structural damage
- Mold, an invisible threat that thrives on condensation
- Roofing materials suffering
- Energy bills rise as your HVAC system works overtime to compensate for the imbalance.
Selecting the Right Vent for Your Roof
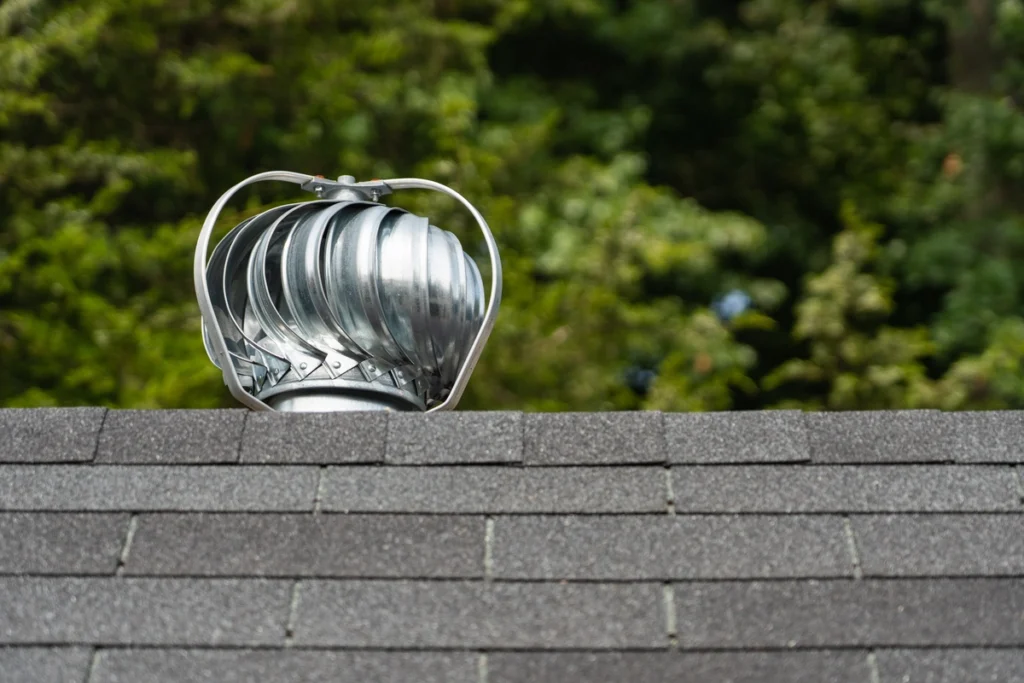
Selecting the appropriate vent isn’t a uniform decision. Your local weather patterns and the design of your roof are the twin factors guiding your choice. For those residing in breezy locales, wind turbines can be the ideal pick, using the wind to ventilate your attic space effectively. Alternatively, power vents may be the solution for hotter climates or homes in dire need of robust ventilation, proactively expelling hot air from the attic.
Aligning with your home’s design and climatic demands ensures that your chosen vent type will work efficiently, keeping your attic well-aerated.
Preparing for a Successful Roof Vent Installation
As you prepare for installation, planning sets the foundation. Here are the steps to follow:
- Gather all necessary materials and tools.
- Assess the roof’s condition and plan for a navigable worksite.
- Ensure that you’re well-acquainted with the power tools and construction principles that will come into play.
Safety cannot be an afterthought. By following these steps, you can ensure a seamless vent installation.
Step-by-Step Roof Vent Installation
With preparations complete, the stage is set for the main act: it’s time to install a roof vent. Here are the steps to follow:
- Begin by marking the vent location from the serenity of your attic.
- Cut the opening with precision atop your roof.
- Pry up shingles and position the roof vent.
- Secure the vent with nails, ensuring alignment with the roof’s contour.
The process requires a steady hand and a watchful eye to ensure proper installation.
Marking and Cutting the Vent Opening
Marking the vent location initiates the blueprint of your installation. A grease pencil and ruler serve as your drafting tools, translating measurements onto the roof deck with clarity. A simple screw pushed through from the attic marks your spot on the rooftop, guiding the precise placement of your vent.
To remove shingles and create a vent hole opening, follow these steps:
- Remove shingles around the area to prevent damage and clear the stage for cutting.
- Drill a pilot hole at the center of your marked territory.
- Use a circular saw to carve out the vent hole opening with surgical precision.
Securing the Vent in Place
With the opening cut, the vent flange is poised to take its place under the lifted shingles and over the newly created hole. Roofing nails are the anchors that secure the vent to your home, applied with care around the vent’s perimeter. Alignment with the surrounding shingles is not just about aesthetics; it’s crucial for the watertight seal that protects your home from the elements.
Sealing and Weatherproofing
Once the vent is positioned, applying sealant serves as the final barrier against weather penetration. Roof and flashing sealant are your allies, applied generously around the vent’s perimeter to prevent leaks.
Caulking old nail holes is a meticulous step, but one that fortifies your roof against moisture intrusion during the installation, and using roofing cement can enhance this process.
Let Us Take Care of Your Roof
The installation of a roof vent is an investment in the health and longevity of your home. Your roof vent serves as a silent guardian, ensuring that your living space remains comfortable, safe, and energy-efficient for years.
When your roof needs a makeover, our team at Secured Roofing can handle the project. We specialize in roof rejuvenation, storm damage repair, and more. Be sure to contact us for your roofing needs!
Explore Our Latest Articles

Celebrate Your Home
