5 Expert Tips For Chimney Flashing Repair
 Written by : Secured Roofing & Solar
 9 minutes read


Repairing chimney flashing is crucial for maintaining the integrity of your home’s roof. By ensuring that your chimney is properly flashed, you can prevent leaks, water damage, and other costly issues. This guide will walk you through everything you need to know about chimney flashing repair, from understanding what it is to identifying when it needs attention and providing expert tips for a successful repair, including:
- The basics of chimney flashing
- Common signs of damage
- Preventative measures
- Step-by-step repair instructions
- 5 expert tips for a lasting fix
🤔 What is Chimney Flashing?
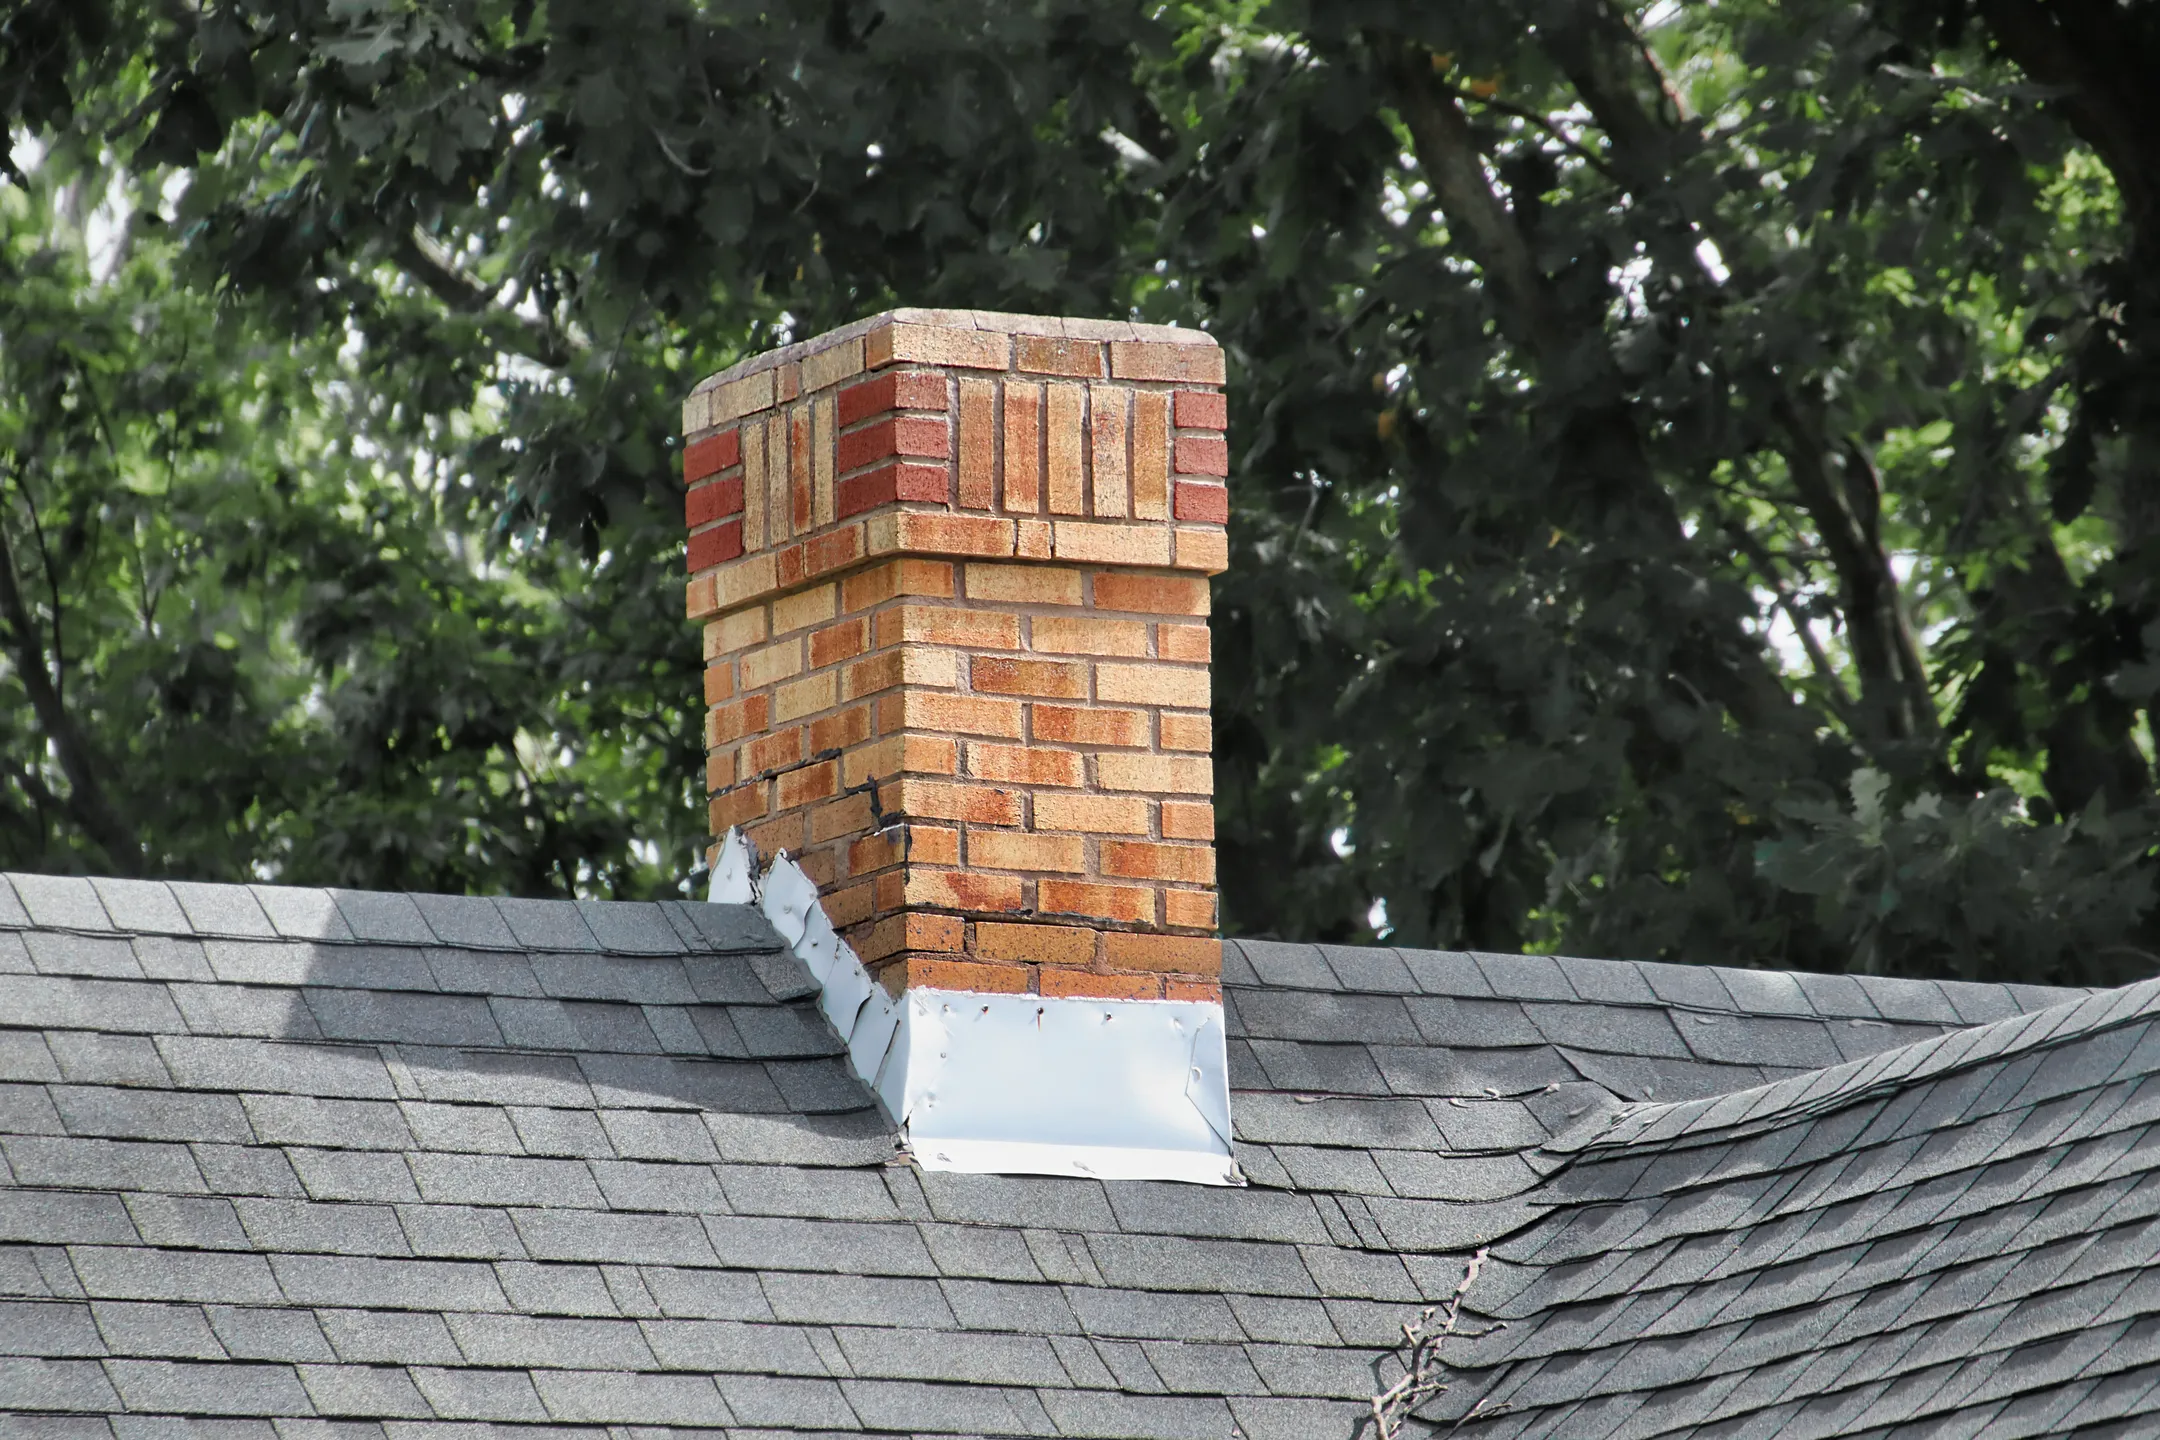
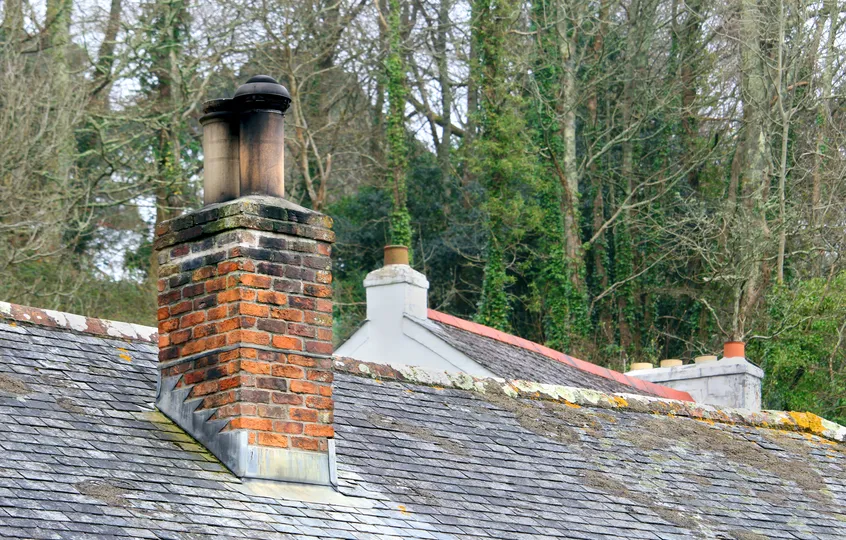
Chimney flashing is a material, usually made of metal like aluminum or galvanized steel, that creates a waterproof seal between the chimney and the roof. It’s an essential part of the roofing system that prevents water from seeping into your home. Properly installed flashing directs water away from the chimney structure and into the gutters.
Types of Chimney Flashing
There are two primary types of chimney flashing:
- Step Flashing: Installed in layers, step flashing is used where the chimney meets the roof. Each piece overlaps the next, creating a stair-step pattern.
- Counter Flashing: Installed on the chimney itself, counter flashing covers the top edge of the step flashing.
Both types work together to form a watertight barrier.
Importance of Chimney Flashing
Chimney flashing plays a crucial role in protecting your home from water damage. Without effective flashing, rainwater can seep into the chimney and surrounding areas, potentially causing mold growth, wood rot, and serious structural issues. This can compromise the integrity of your home and lead to costly repairs. Regular inspection and maintenance of your chimney flashing not only helps identify any wear and tear but also ensures a tight seal against the elements, ultimately safeguarding your investment and preserving the comfort of your living space. Taking proactive measures can save you from expensive repairs and enhance your home’s durability.
⚠️ Signs Your Chimney Flashing Needs Repair

Chimney flashing is a crucial component of your roof’s waterproofing system, and neglecting it can lead to serious issues. Recognizing the signs that your chimney flashing needs repair can save you time and money in the long run.
Visible Rust and Corrosion
One of the most obvious signs of damaged metal flashing is rust. If you notice rust or corrosion on the metal flashing, it’s a clear indication that the material is breaking down and you need chimney flashing replacement.
Water Stains and Leaks
Water stains on the ceiling or walls near your chimney are a red flag. These stains indicate that water is penetrating your roof, and the flashing may be the culprit. Leaks can lead to significant damage if not addressed promptly.
Cracked or Missing Flashing
Inspect the area around your chimney. If you see any cracks, gaps, or missing pieces in the flashing, it’s time for a repair. Damaged flashing cannot effectively keep water out, leaving your home vulnerable to leaks.
✋ Preventative Measures
Preventative measures for chimney flashing are essential to ensure the longevity and effectiveness of your chimney’s waterproofing. By regularly inspecting and maintaining the flashing, homeowners can prevent leaks and costly damage caused by water infiltration. Taking proactive steps now can save you time and money in the long run.
Regular Inspections
Regularly inspecting your roof and chimney can help you catch problems early. Aim to inspect your chimney flashing at least twice a year, and after severe weather events.
Proper Installation
Ensure that you install flashing materials correctly. Poor installation can lead to premature failure. Hiring a professional for installation can provide peace of mind and ensure the job is done right.
Using Quality Materials
Quality materials are essential for long-lasting chimney flashing. Opt for durable metals like galvanized steel or aluminum, which can withstand the elements and provide reliable protection.
🛠️ How to Repair Chimney Flashing
Chimney flashing is a crucial component that protects your roof and chimney from water leaks. Over time, it can wear down or become damaged, leading to potential issues in your home.
Gather Your Materials
Before starting your repair, gather the necessary materials:
- Replacement flashing
- Roofing cement
- Caulk gun
- Ladder
- Protective gloves and eyewear
Having everything prepared will make the repair process smoother and more efficient.
Removing Old Flashing
Carefully remove the old, damaged flashing. Use a pry bar to lift the shingles around the chimney and gently pull out the flashing. Be cautious not to damage the surrounding shingles or roofing material.
Installing New Flashing
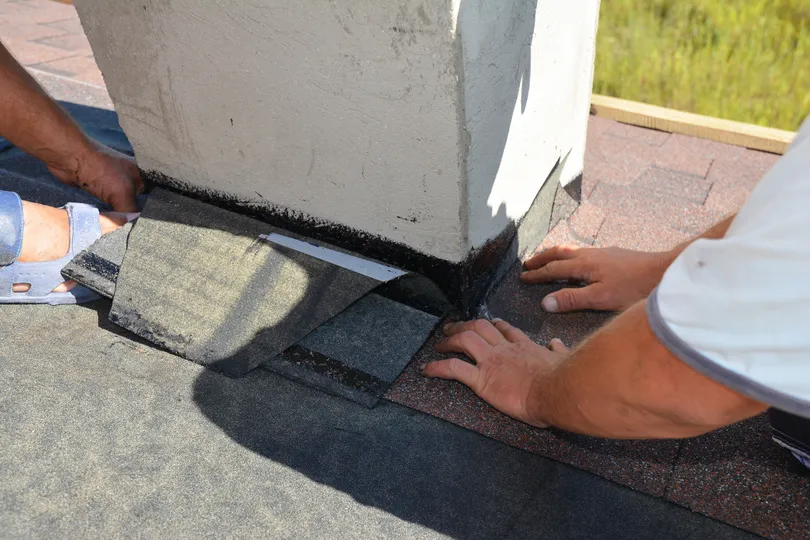
Apply new flashing in layers, starting with step flashing. Secure each piece with roofing nails and cover the nails with roofing cement to prevent leaks. Install counter flashing over the step flashing, sealing the edges with caulking for an added layer of protection.
💡 5 Expert Tips For Chimney Flashing Repair

Chimney flashing repair is a crucial aspect of maintaining the integrity of your roof and preventing water damage. Properly installed and maintained flashing can protect your home from leaks and structural issues. In this section, we’ll share expert tips to help you effectively address any flashing problems and ensure your chimney remains secure and watertight.
1. Safety First
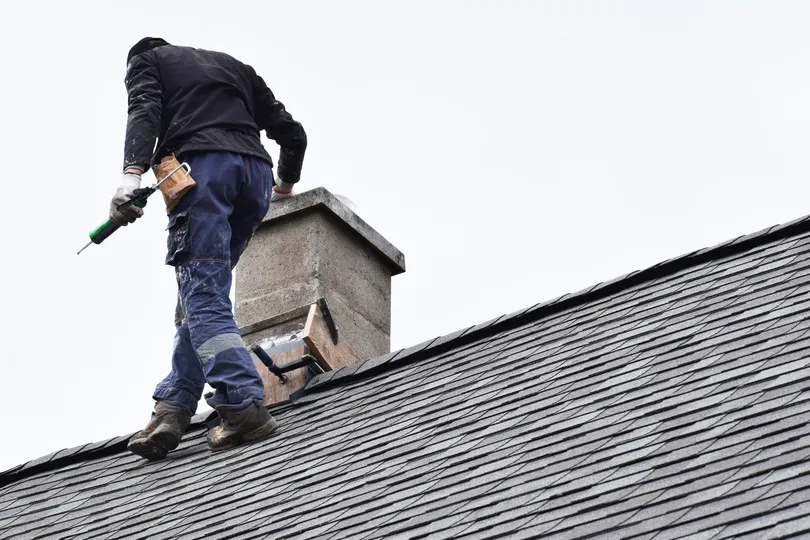
When working on your roof, always prioritize safety above all else. Start by ensuring you have a sturdy ladder that can support your weight and reach the necessary height without wobbling. Wear protective gear, such as a hard hat and non-slip shoes, to guard against accidents. Additionally, make sure to avoid working during extreme weather conditions like rain, high winds, or storms, as these can increase the risk of slips and falls. It’s also advisable to have a buddy system in place—having someone nearby can make a significant difference in case of an emergency.
2. Measure and Cut Precisely
Accurate measurements and cuts are crucial for effective flashing installation. Begin by measuring the area where the flashing will be placed, taking care to account for any angles or curves. Use a chalk line to mark your cuts, ensuring they are straight and precise. A sharp utility knife or metal snips can help achieve clean edges. Remember, the goal is for each piece of flashing to fit snugly against the roofing material, as this will provide the best barrier against water infiltration. Double-check your measurements before cutting to minimize waste and ensure a perfect fit.
3. Seal Edges Thoroughly
To prevent water from seeping beneath your flashing, apply roofing cement or caulking generously to seal all edges and joints. Start by cleaning the surface where the flashing will be applied to remove any debris or old sealant. After placing the flashing, use a caulking gun to apply a thick bead of roofing cement along the edges, making sure to cover all seams and potential weak spots. It’s important to smooth the sealant afterward for a secure bond. This step is vital for creating a watertight seal, which will protect your roof from water damage over time.
4. Check for Gaps
After installing the new flashing, it’s essential to double-check for any gaps or loose edges that might compromise your repair. Inspect the flashing closely, looking for uneven spots or areas that don’t seem securely attached to the roof. Use a flashlight if necessary to get a better view of hard-to-see areas. Tighten any loose sections by adding additional screws or fasteners as needed, and apply extra sealant in any identified gaps to ensure a complete seal. This thorough inspection can save you from future leaks and extensive repairs.
5. Test for Leaks
Once your repair is complete, it’s crucial to verify that everything is sealed properly by testing for leaks. Use a hose to spray water on the roof around the chimney and flashing area, simulating rainfall. Pay close attention to the interior of your home, checking for any signs of water penetration, such as damp spots or discoloration on ceilings and walls. If you notice any leaks during this test, you may need to revisit your flashing installation and make additional adjustments or sealant applications. Performing this test can provide peace of mind that your repair is effective and long-lasting.
🚫 Common Mistakes to Avoid
When it comes to chimney flashing, avoiding common mistakes is crucial for ensuring a watertight seal and preventing costly damage. Many homeowners overlook the importance of proper installation and maintenance, leading to leaks and deterioration.
Using Inappropriate Materials
Using materials not designed for chimney flashing can lead to quick deterioration. Always use high-quality, weather-resistant metals.
Skipping the Sealant
Failing to apply roofing cement or caulking can leave your flashing vulnerable to leaks. Sealing all edges and joints is a crucial step in the repair process.
Ignoring Regular Maintenance
Neglecting regular inspections and maintenance can result in unnoticed damage and costly repairs. Stay proactive to extend the lifespan of your chimney flashing.
👨🔧 When to Call a Professional

Knowing when to call a professional for chimney flashing is crucial to ensuring the safety and integrity of your home. If you notice water stains on your ceiling or walls, or if your flashing appears damaged or improperly installed, it’s time to seek expert help. A professional can assess the situation and provide the necessary repairs to prevent further issues.
- Extensive Damage: If your chimney flashing is extensively damaged or you’re unsure about the repair process, it’s best to call in a professional. They have the expertise and tools to handle complex repairs safely.
- Lack of Experience: Roofing work can be dangerous, especially for those without experience. Hiring a professional can provide peace of mind and ensure the job is done correctly.
- Peace of Mind: Professional roofers offer warranties on their work, providing an added layer of protection and peace of mind for homeowners.
🙌 Trust Secured Roofing and Solar for Your Roofing Needs
Chimney flashing repair is a vital part of home maintenance that shouldn’t be overlooked. By understanding the basics, recognizing the signs of damage, and following expert tips, you can keep your chimney flashing in top condition.
At Secured Roofing and Solar, we pride ourselves on providing reliable, professional roofing services. Our team of experts is dedicated to helping homeowners maintain their roofs and protect their homes. If you need assistance with chimney flashing repair or any other roofing needs, don’t hesitate to reach out to us.
Secure your home with the team you trust. Contact Secured Roofing and Solar today!
Explore Our Latest Articles
Celebrate Your Home
